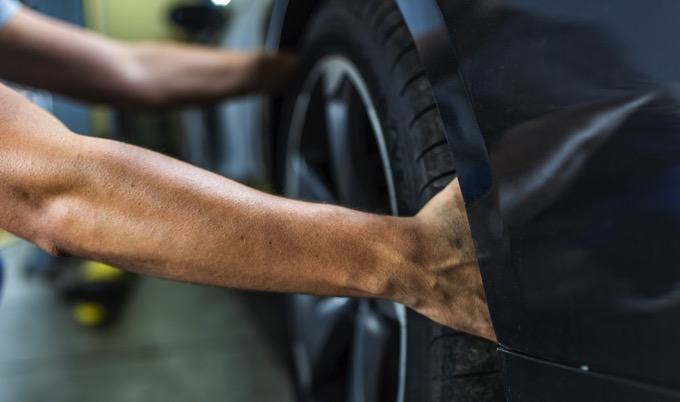
Vehicle tire puncture is by far the most common and frustrating vehicle trouble. No matter the time, place, and situation, a flat tire can deflate your happiness in a flash. Unlike the minor inconveniences that can wait to be fixed, flat tires require immediate attention no matter if you are running late for your interview or your first date. Besides, you don’t want to be sitting in that cocktail dress on the side of the road waiting for a tow truck service Detroit.
So, it makes sense for every driver to arm himself with the necessary skill of changing a flat tire on his vehicle. And fortunately, the task is pretty simple, with no rocket science or strenuous work. All you need to have is a basic tire repair kit and a sound knowledge of replacing a flat tire with a spare.
That is why our experts at SPN America Towing have put together a list of essential tools and an easy step-by-step guide to change a flat tire. While if you are too tired to fix the wheel yourself, we are always ready to help you.
You may also read: Importance of Maintaining Your Vehicle Even When You’re Not Driving
Essential items you need to fix a flat tire yourself
- A spare tire – fully inflated spare wheel to be exchanged with the flat tire
- A jack – to lift your vehicle
- Wrench or wheel brace – that fits the wheel nuts and bolts
- Vehicle’s owner manual – that contains specific information about your car and tires
- Reflective warning marker – to alert other drivers on the road
We also recommend having
- Gloves – to avoid dirt and cuts on your hands
- A flashlight – helpful in dark areas or nighttime
- Fix-a-flat – for a temporary fix
A step-by-step guide to change a flat tire
Before you begin to unplug the punctured tire from the vehicle, first take these preparatory steps to ensure your safety.
- Pullover to a safe and smooth spot
Never drive with a flat tire! As soon as you hear a loud bang of a dead tire, stop driving and find a safe spot to pull over. However, do not abruptly turn or brake to avoid getting hit by an inattentive driver. Instead, slowly reduce the speed and carefully move to a straight stretch of a road with a wide shoulder. Also, scan your surroundings for a smooth and flat surface to decrease the chances of your vehicle rolling. A parking lot or a nearby gas station is ideally the best option.
- Turn on the hazard lights
Roads are a dangerous place. Even if you move to the shoulder away from the oncoming traffic, the risks are ever existing. Turn on your hazard lights and use flashers to help other drivers see you on the side of the road.
- Use the parking brake
Applying the parking brakes before replacing a flat tire further minimizes the possibility of your vehicle falling off the jack.
Step 1: Remove the wheel cover/hubcap
In case your tire does not have a hubcap over the lug nuts, you can skip ahead to step 2.
To remove the lug nuts, you first need to remove the hubcap. You can use the flat end of the lug wrench to loosen the cover or consult your car manual if it does not work.
Step 2: Loosen the lug nuts
Once exposed, loosen the lug nuts using the lug wrench. Turn the nuts counterclockwise and use your foot or all of your body to exert enough force to break their resistance. For now, just loosen the nuts to about ½ of a turn and not remove the wheel from the vehicle.
Step 3: Jack up your car
Next, you need to place your jack underneath the vehicle to lift it up. Generally, the right place for placing the jack is on a metal surface under the vehicle frame near the flat tire. However, the specifications vary depending on the vehicle model. You can check out your owner’s manual and follow the instructions to avoid plastic moldings and put it exactly where it should be. With the jack in position, crank away to raise your vehicle high enough to pull out the wheel.
Step 4: Unscrew the nuts and remove the flat tire
It’s time to remove the loosened lug nuts and the tire. Use your hands to unscrew the already loosened nuts to remove them all the way. After that, grip the punctured tire with its tread and gently pull it out of the hub.
Step 5: Place the spare tire
Place the spare tire lining up the holes with the lug bolts, and push the tire on the wheelbase as far as possible.
Step 6: Replace the lug nuts
Now replace the lug nuts on the spare and tighten them with your hands, so it stays put. Do not use the lug wrench to tighten the nuts yet because it is essential to keep the tires even when tightening.
Step 7: Lower your vehicle and tighten the nuts
Lower the jack to bring your vehicle to a level where it touches the ground but does not entirely rest its weight on the floor. Your tires are in place at this point, so you can tighten them using the lug wrench. Strongly turn the wrench clockwise and tighten the nuts in increment.
Step 8: Replace the hubcap
The hubcap you removed from the flat tire might or might not fit your spare tire. If it does, replace it in the spare the same way you removed it. And in case it does not, simply stow it away with the punctured tire in your trunk.
Step 9: Take your flat tire to a mechanic
Spare tires are a temporary fix and not meant for long-distance and high-speed traveling. Until you are able to find a trusted mechanic, drive safely and cautiously. Then get your tire tested and repaired by a 24-hour tire repair in Las Cruces NM or buy a new one if it is not repairable.
Should you find yourself stranded in an unknown neighborhood with a flat tire, call SPN America Towing for professional mobile flat tire repair Miami and get ready to hit the road within no time.